Freelancer Guide
This page shows exactly what to do on mobile when you receive a job, how to manage submissions and revisions, and how to withdraw your earnings to a bank account using OKX or Binance.Quickstart
If you haven’t done the quickstart configuration yet, please do so before proceeding.
Accepting Jobs
Step 1. Receive & view an invitation
- Open the StableLance website or go to your dashboard.
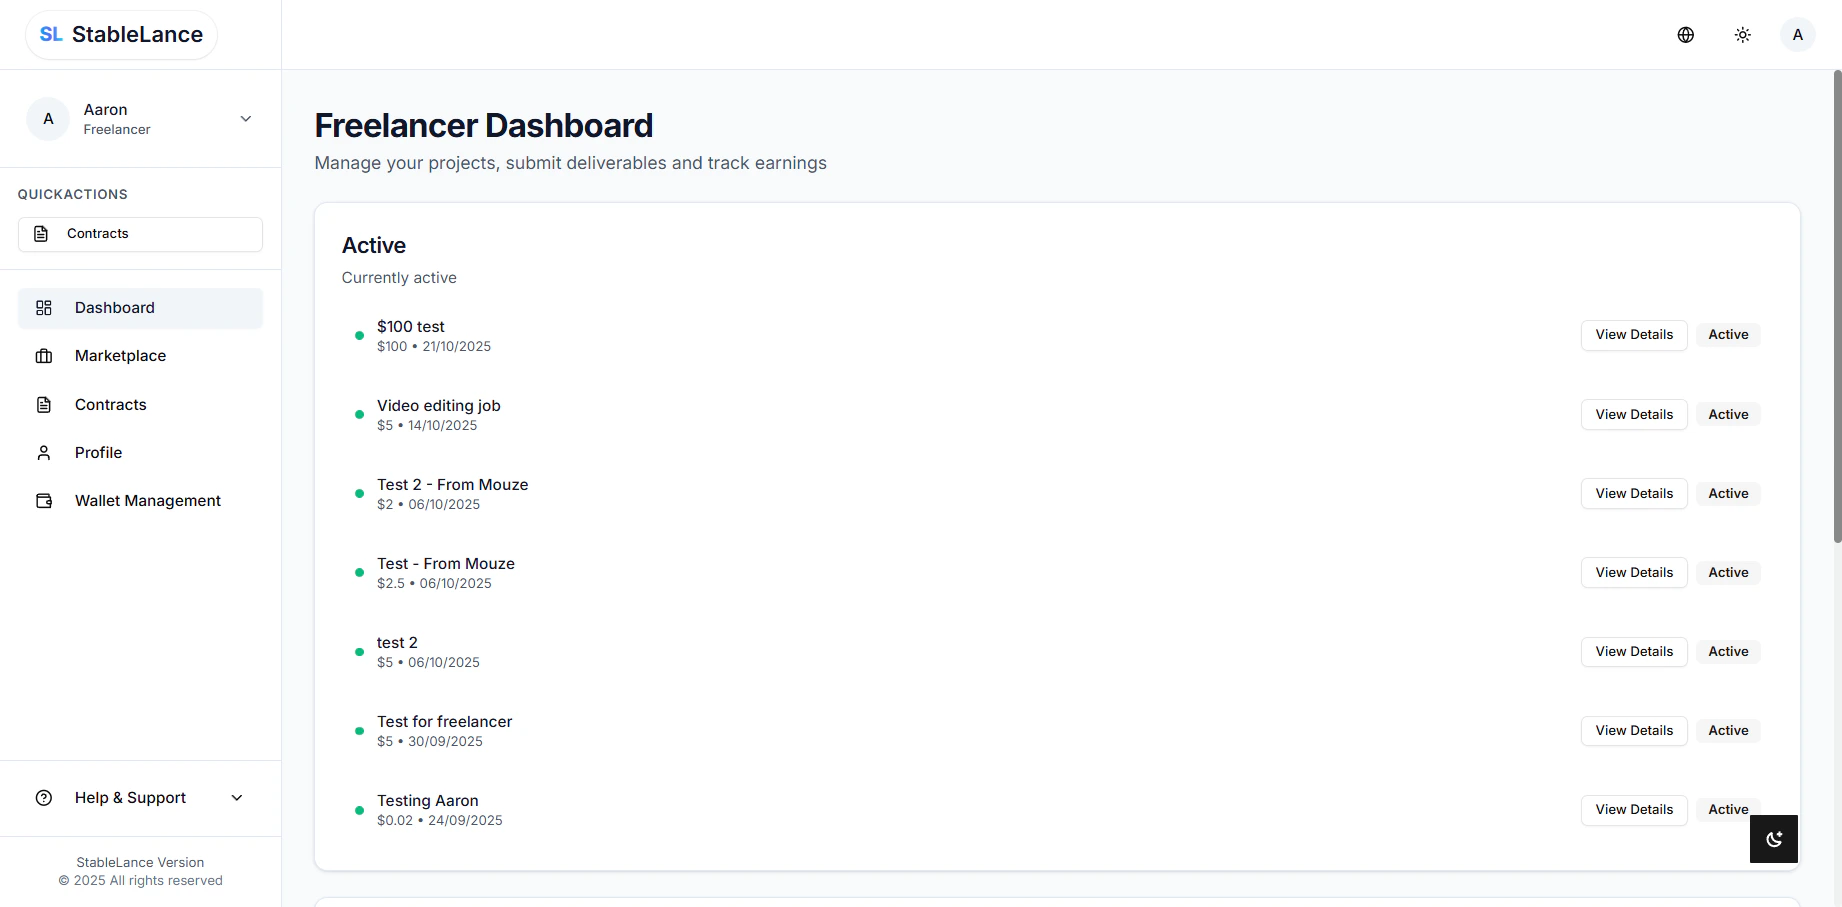
- Under Pending Contracts. You’ll see new job invites listed.
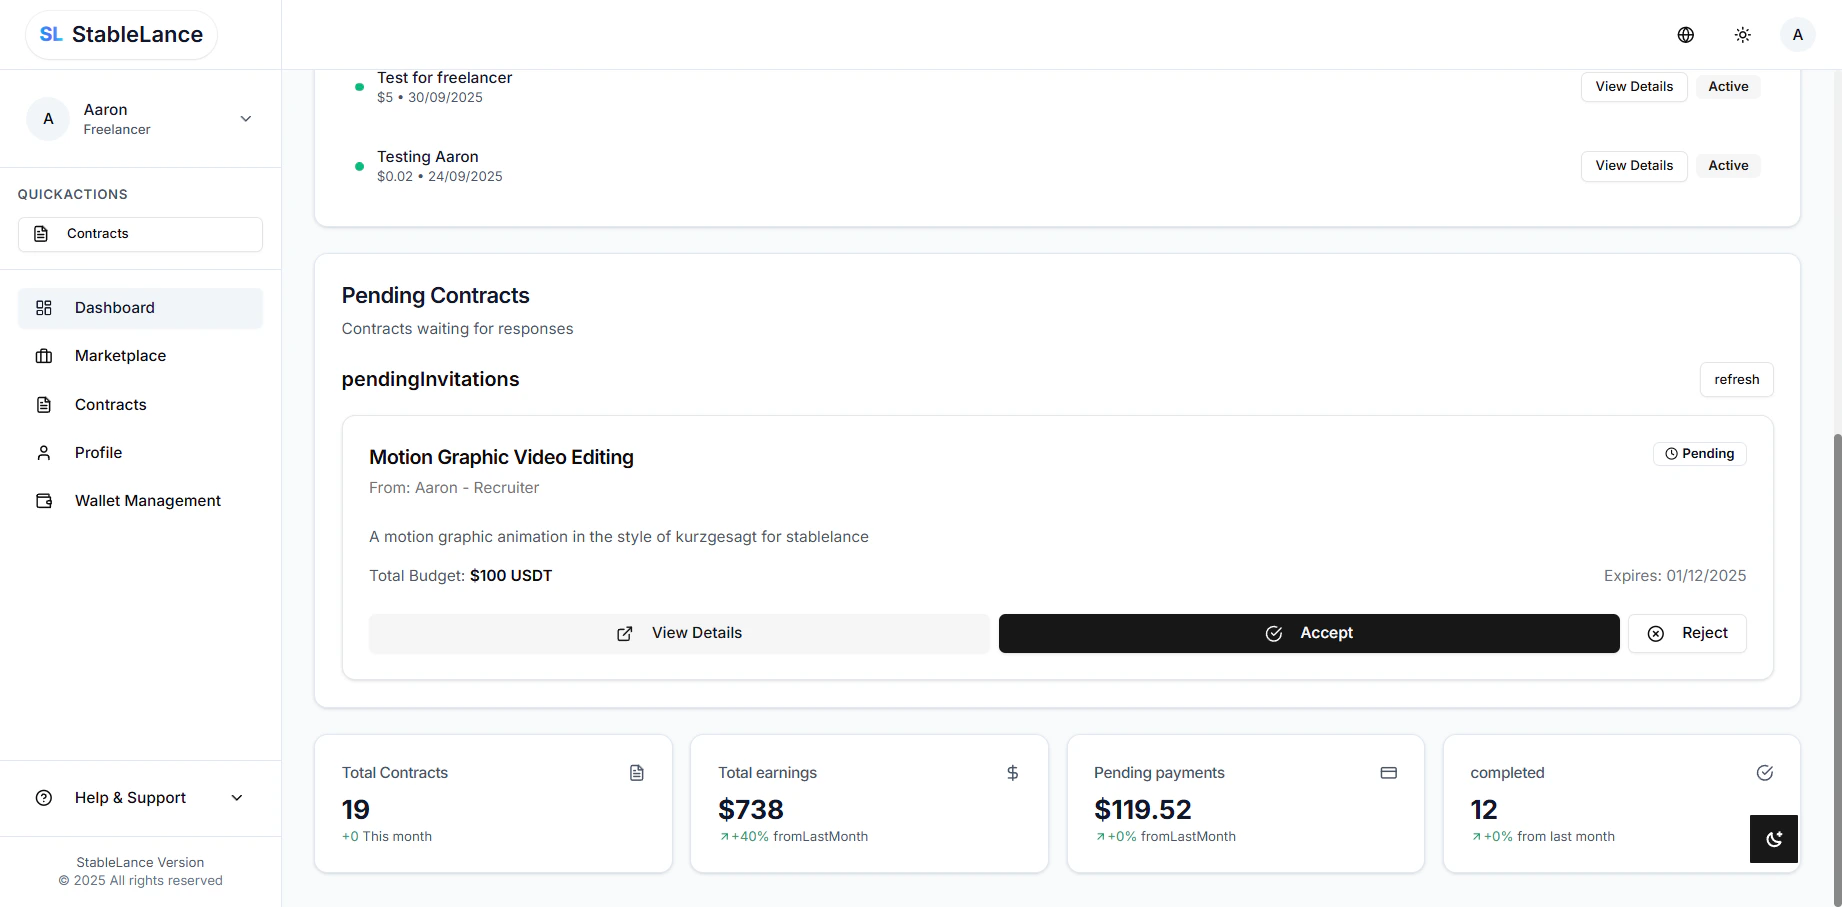
- Tap the job title to open the Job Details page. This view shows: project title, description, milestones, deliverables, amount, and recruiter contact.
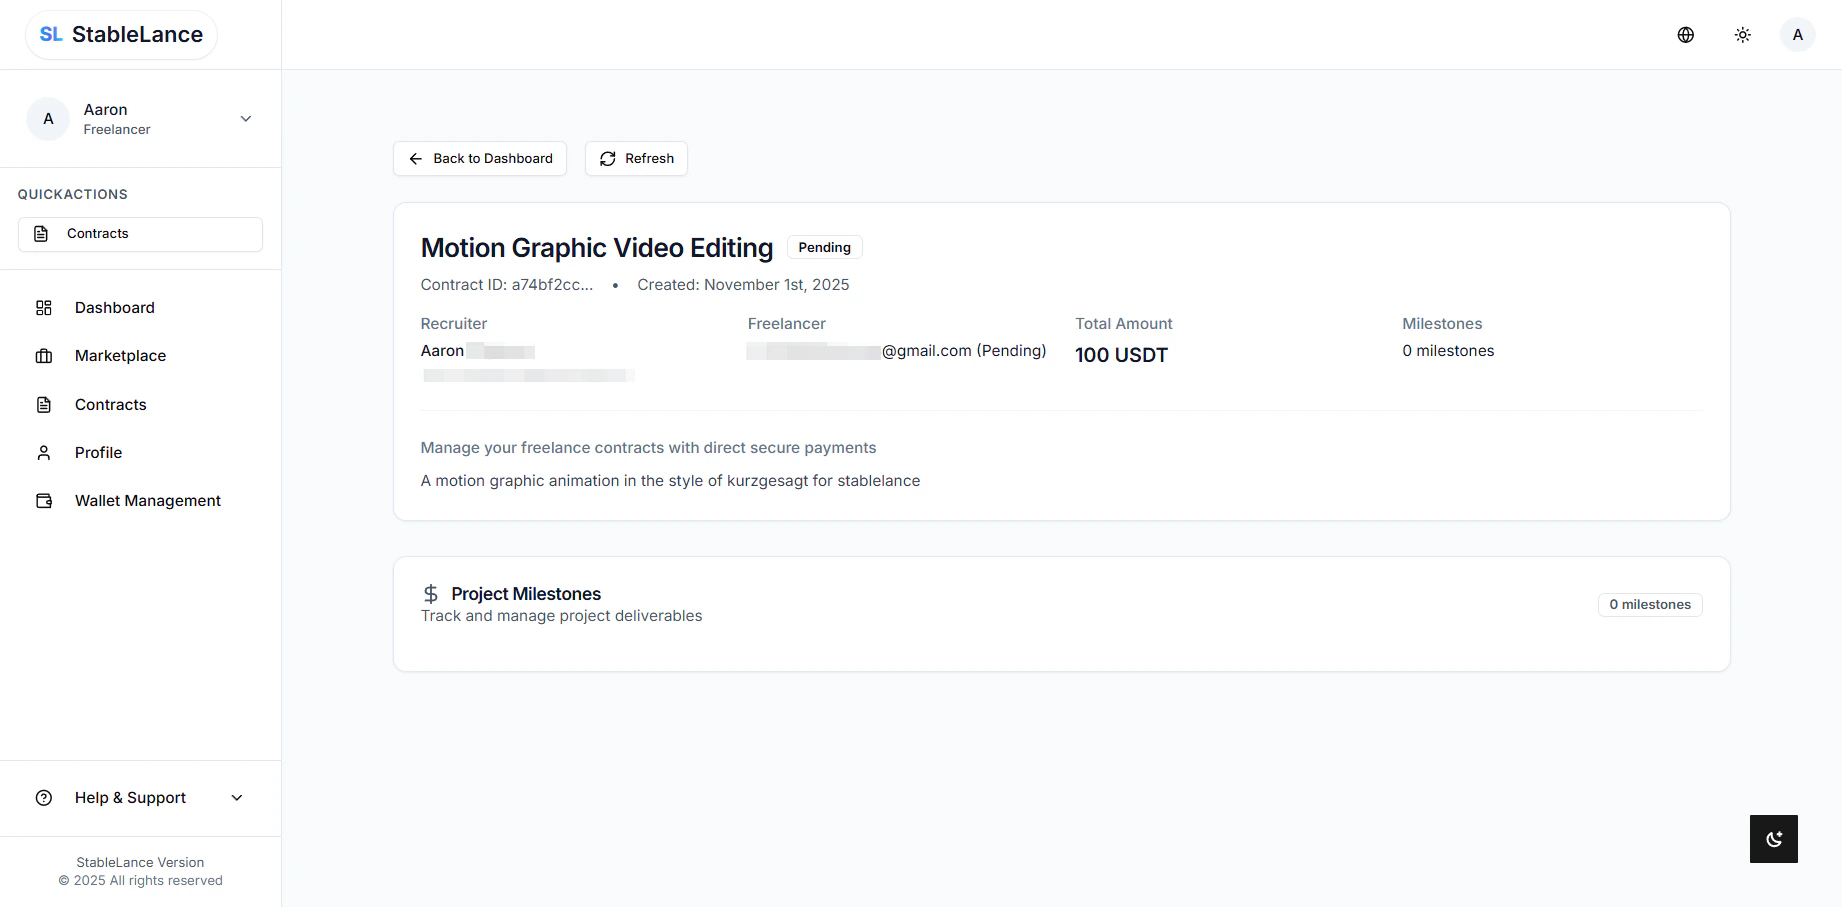
Step 2. Accept the job
- Accept Invitation.
- Confirm any prompts. After you accept:
- The project moves to Projects → Active Contracts.
- You’ll receive an email confirmation.
- If you change your mind, you can Decline on the same Job Details page.
Managing Work
Step 1. Project workspace (what you’ll see)
💬 Messages
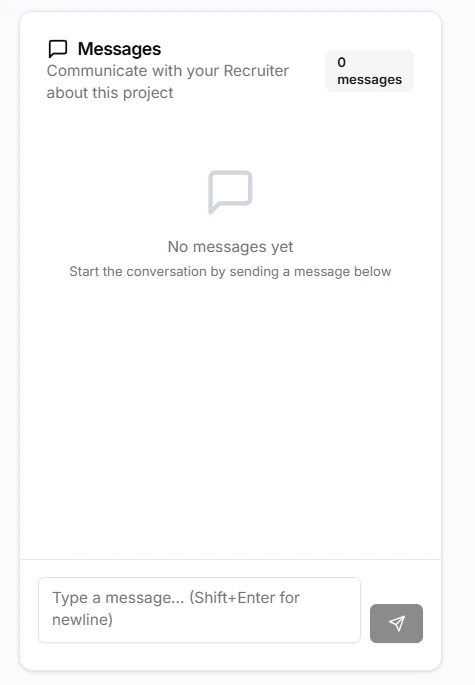
- Chat directly with your recruiter in real time.
- Use the Messages tab to discuss deliverables, timelines, or revisions.
- Notifications will appear in your email when new messages arrive.
📁 Project Files
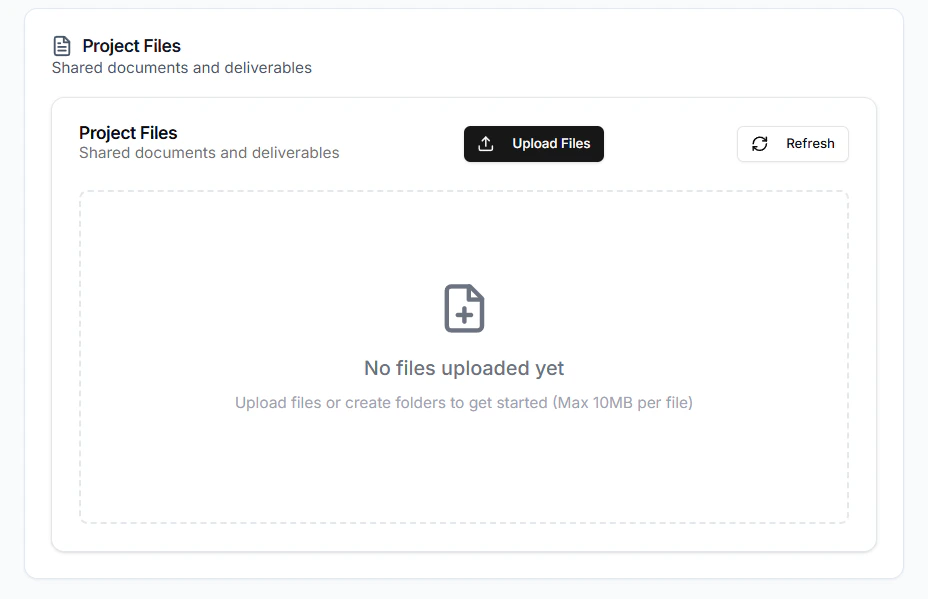
- All shared files between you and your recruiter appear here.
- You can upload or download documents, images, or deliverables (max file size: 10 MB per upload).
- Organize your files clearly — name them by version or milestone to avoid confusion.
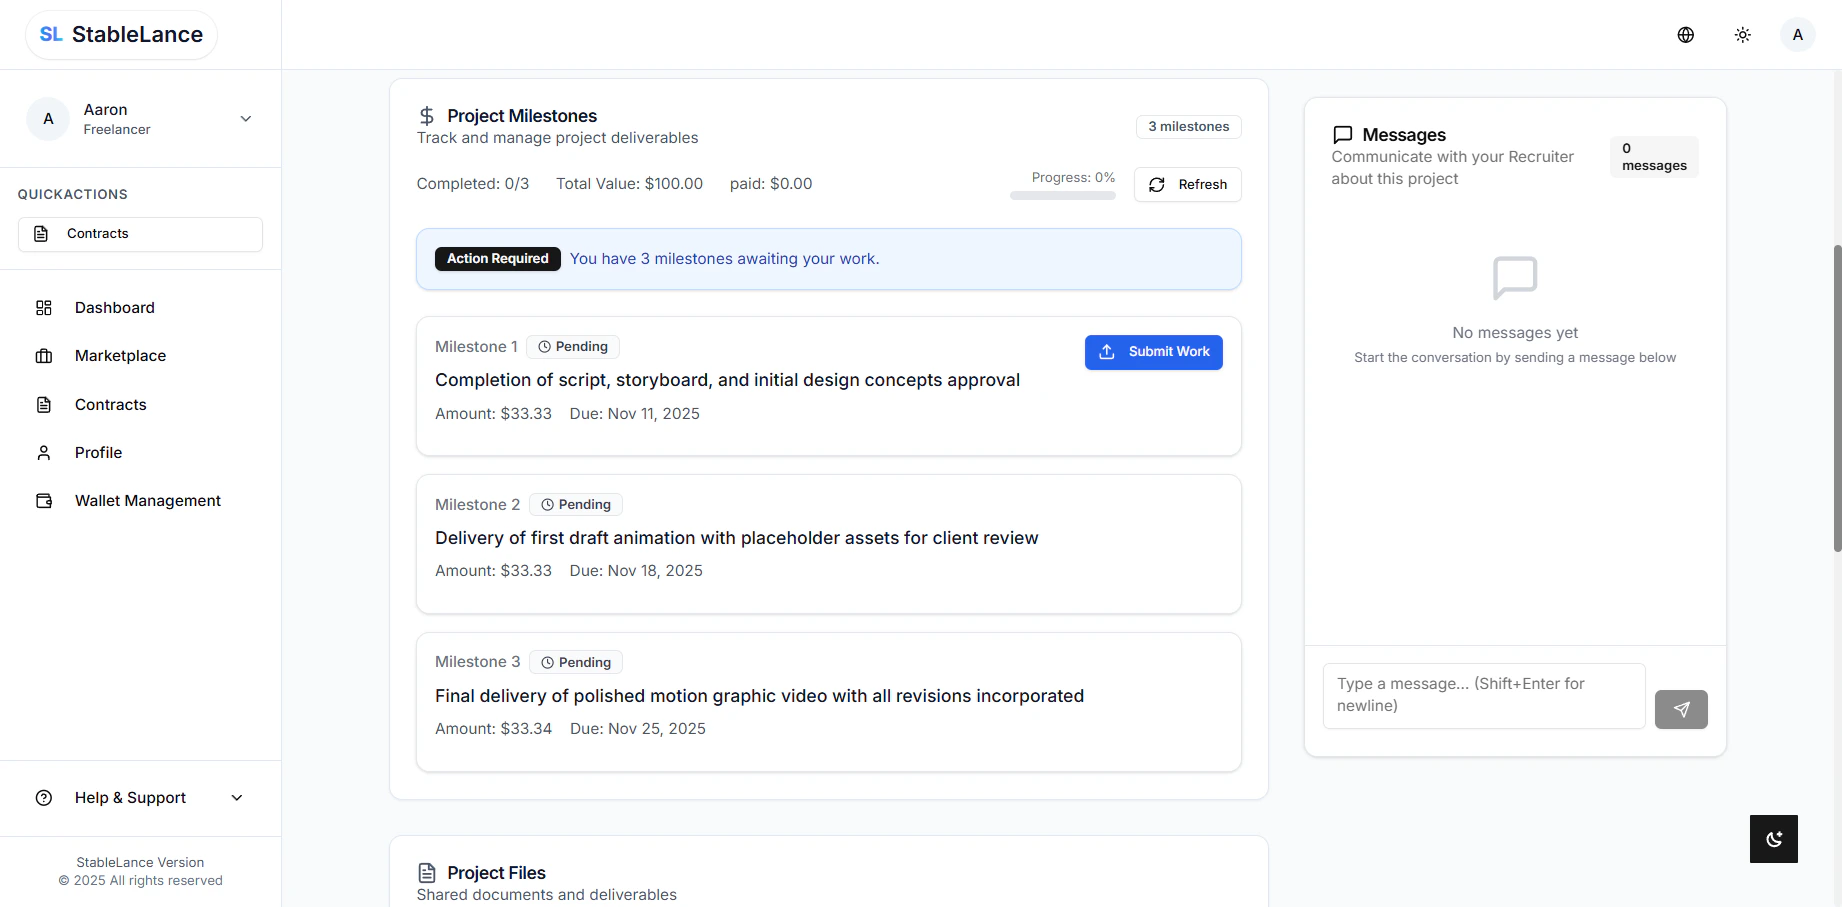
📊 Project Milestones
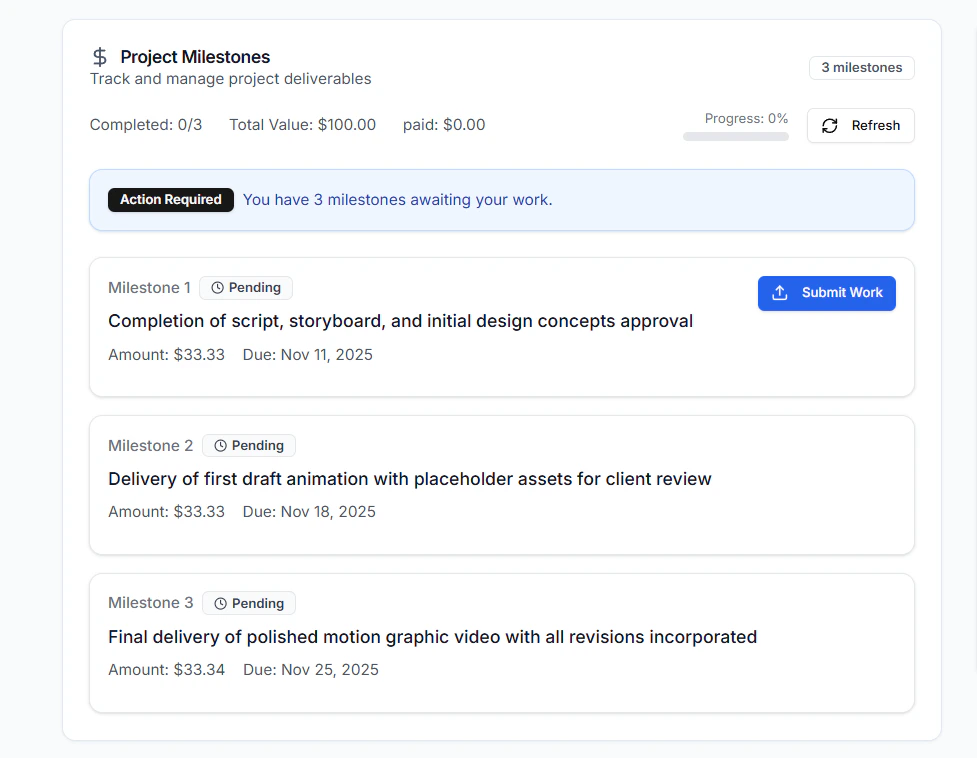
- Track and manage all milestones under the Milestones tab.
- Each milestone shows:
- Description
- Due date
- Payment amount
- Status (Pending / Submitted / Approved)
Step 2. Submitting work for a milestone
- In the Milestones tab, find the milestone you need to submit and tap Submit Work.
- Upload the files for that milestone (max 10 MB each).
- Add a short message describing what you submitted and tap Submit.
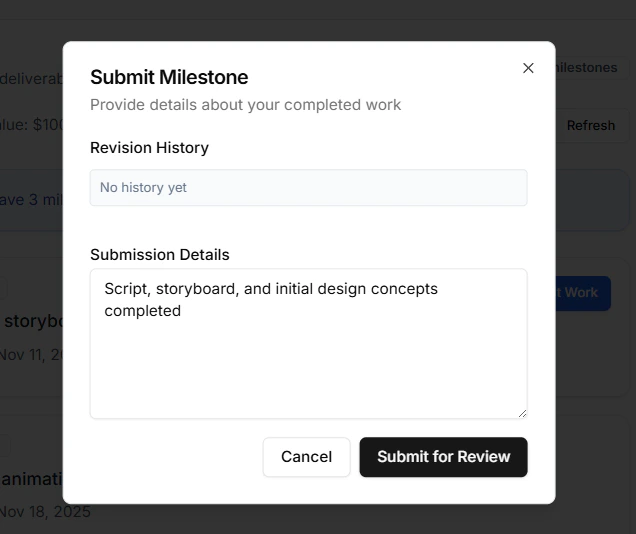
- Status changes to Submitted and the recruiter is notified.
Step 3. If the recruiter requests changes (revision)
- If the recruiter clicks Request Revision, you’ll get a notification and the milestone will show as Rejected.
- Open the milestone, review the recruiter’s notes, make changes, then Resubmit following the same Submit Work steps.
Receiving Payments & Withdrawing Money
When a recruiter approves a milestone, the milestone immediately becomes Paid and the funds appear in your StableLance Wallet.Step 1. Verify You Received Payment in StableLance
- Open StableLance → Wallet Management.
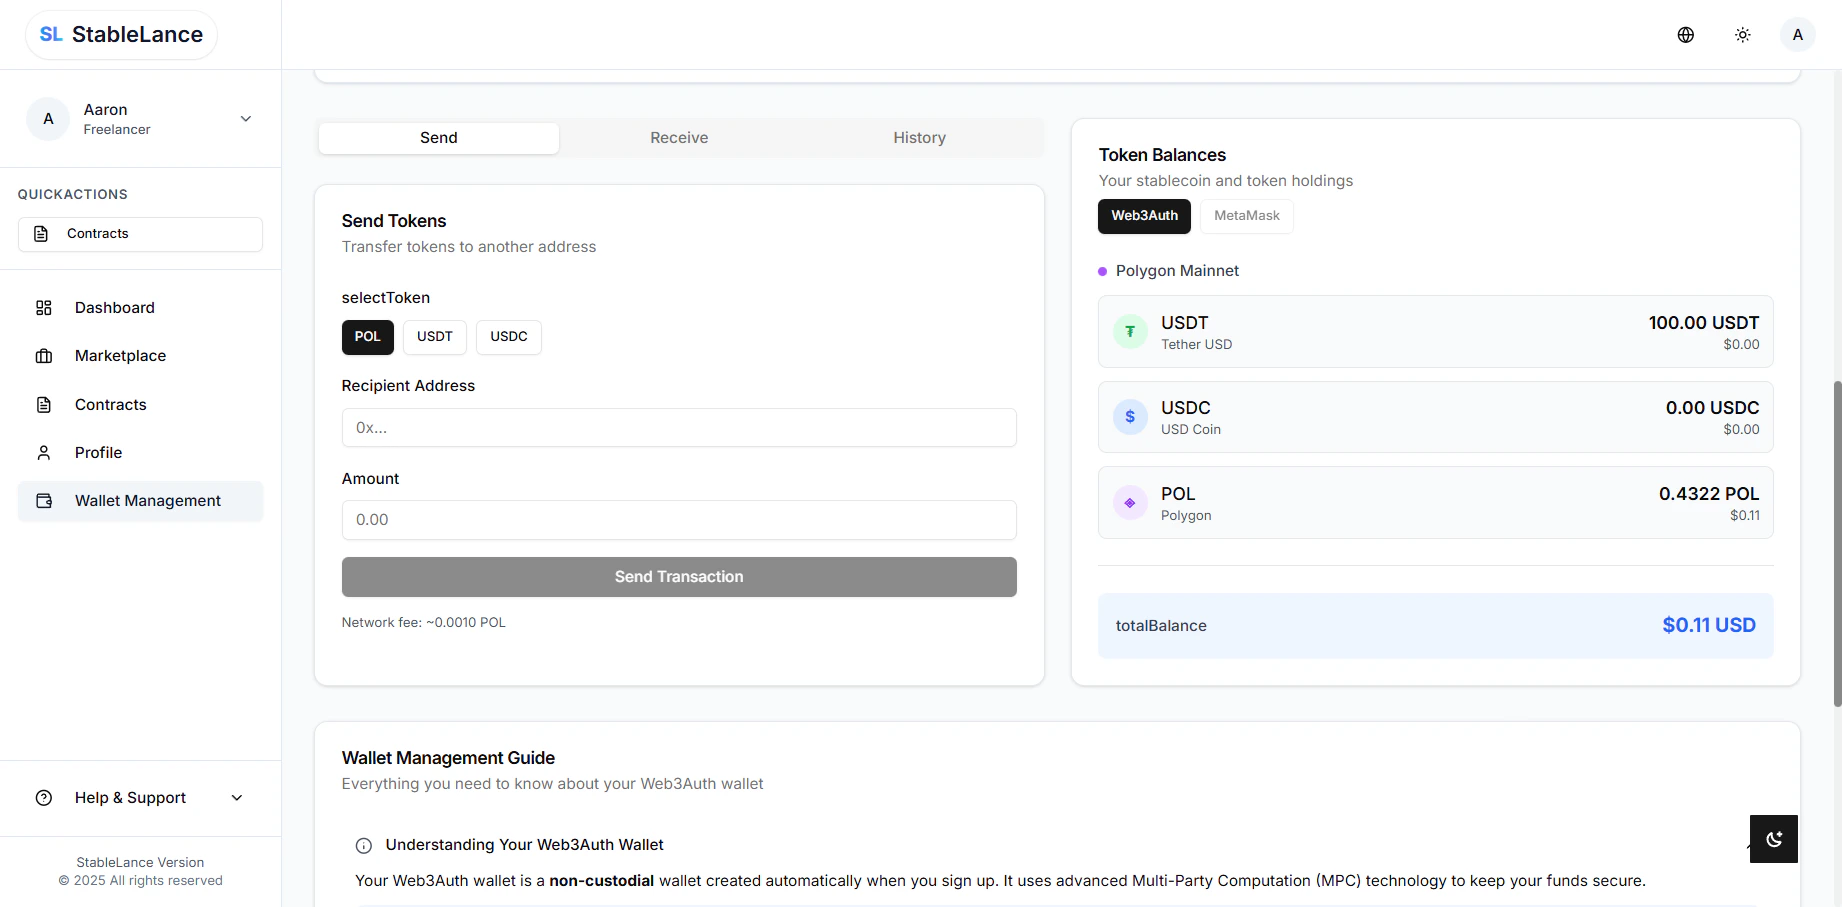
- Check your USDT/USDC Balance — the milestone amount should now appear.
- If it doesn’t show after a few minutes, click Refresh. But it is always instant, less than 30 seconds.
- To double-check on the blockchain (optional):
- Go to https://polygonscan.com.
- Copy your StableLance wallet address from Wallet Management → Copy Wallet Address.
- Paste it into the PolygonScan search bar and press Enter.
- You’ll see a list of recent transactions to and from your wallet.
- Check that the most recent transaction matches the amount of your milestone payment — this confirms it was successfully sent and recorded on the Polygon network.
⚠️ Note: If your StableLance wallet is not linked to any exchange, see the QuickStart Guide before attempting to withdraw.
Step 2. Withdraw & Sell USDT from Linked Exchange
Once your StableLance wallet is linked to an exchange (OKX, Binance, Coinbase, etc.), approved milestone payments are synced to that exchange’s Web3 wallet. You do not need to send funds manually from StableLance — the funds will appear in the linked Web3 wallet on the exchange.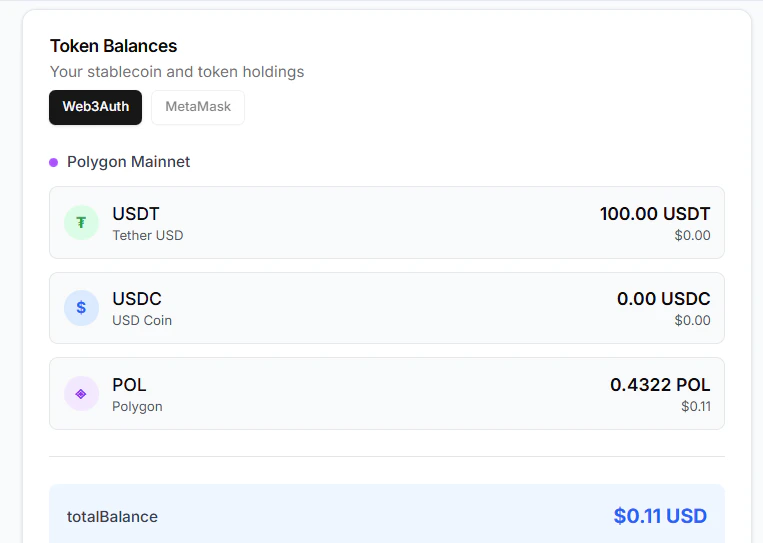

OKX — Move funds & sell (mobile)
OKX — Move funds & sell (mobile)
- Check your Web3 wallet on OKX
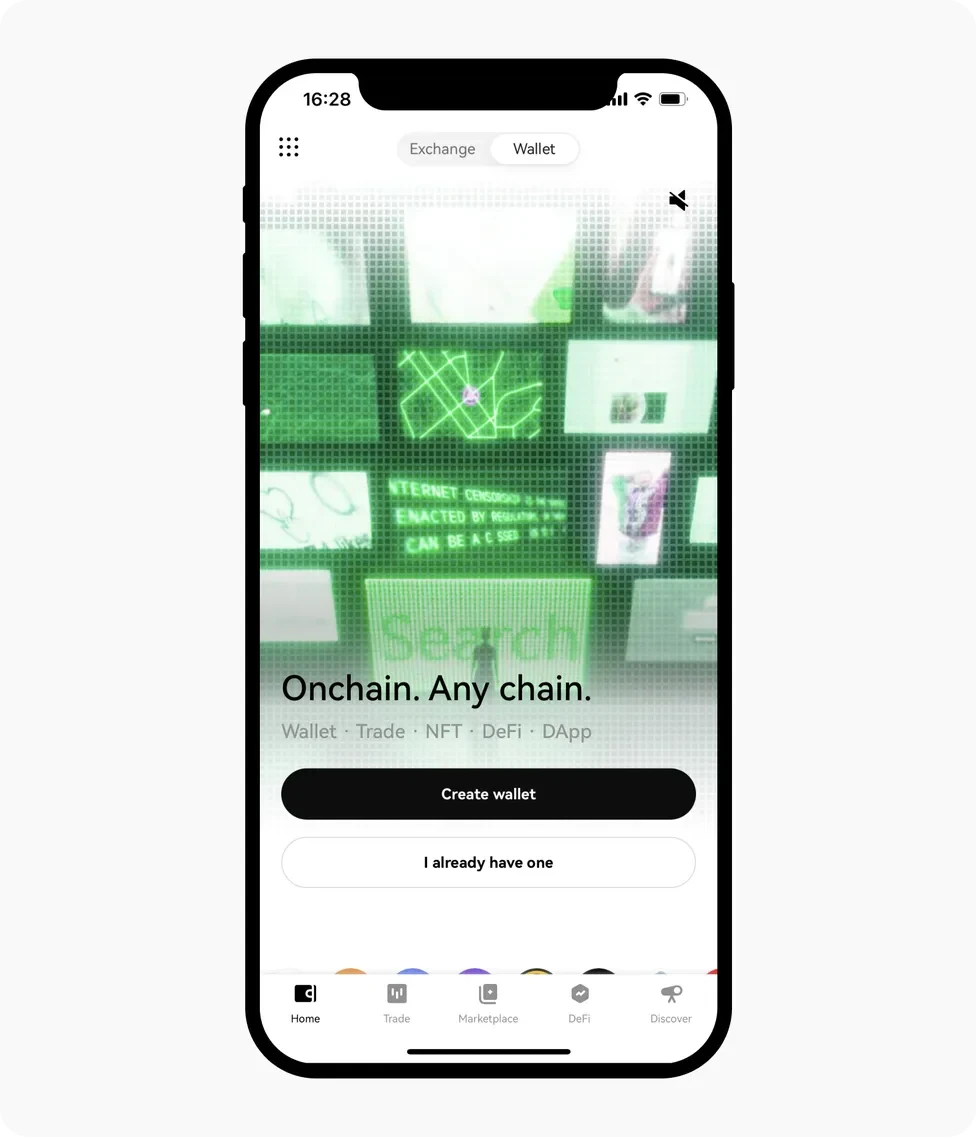
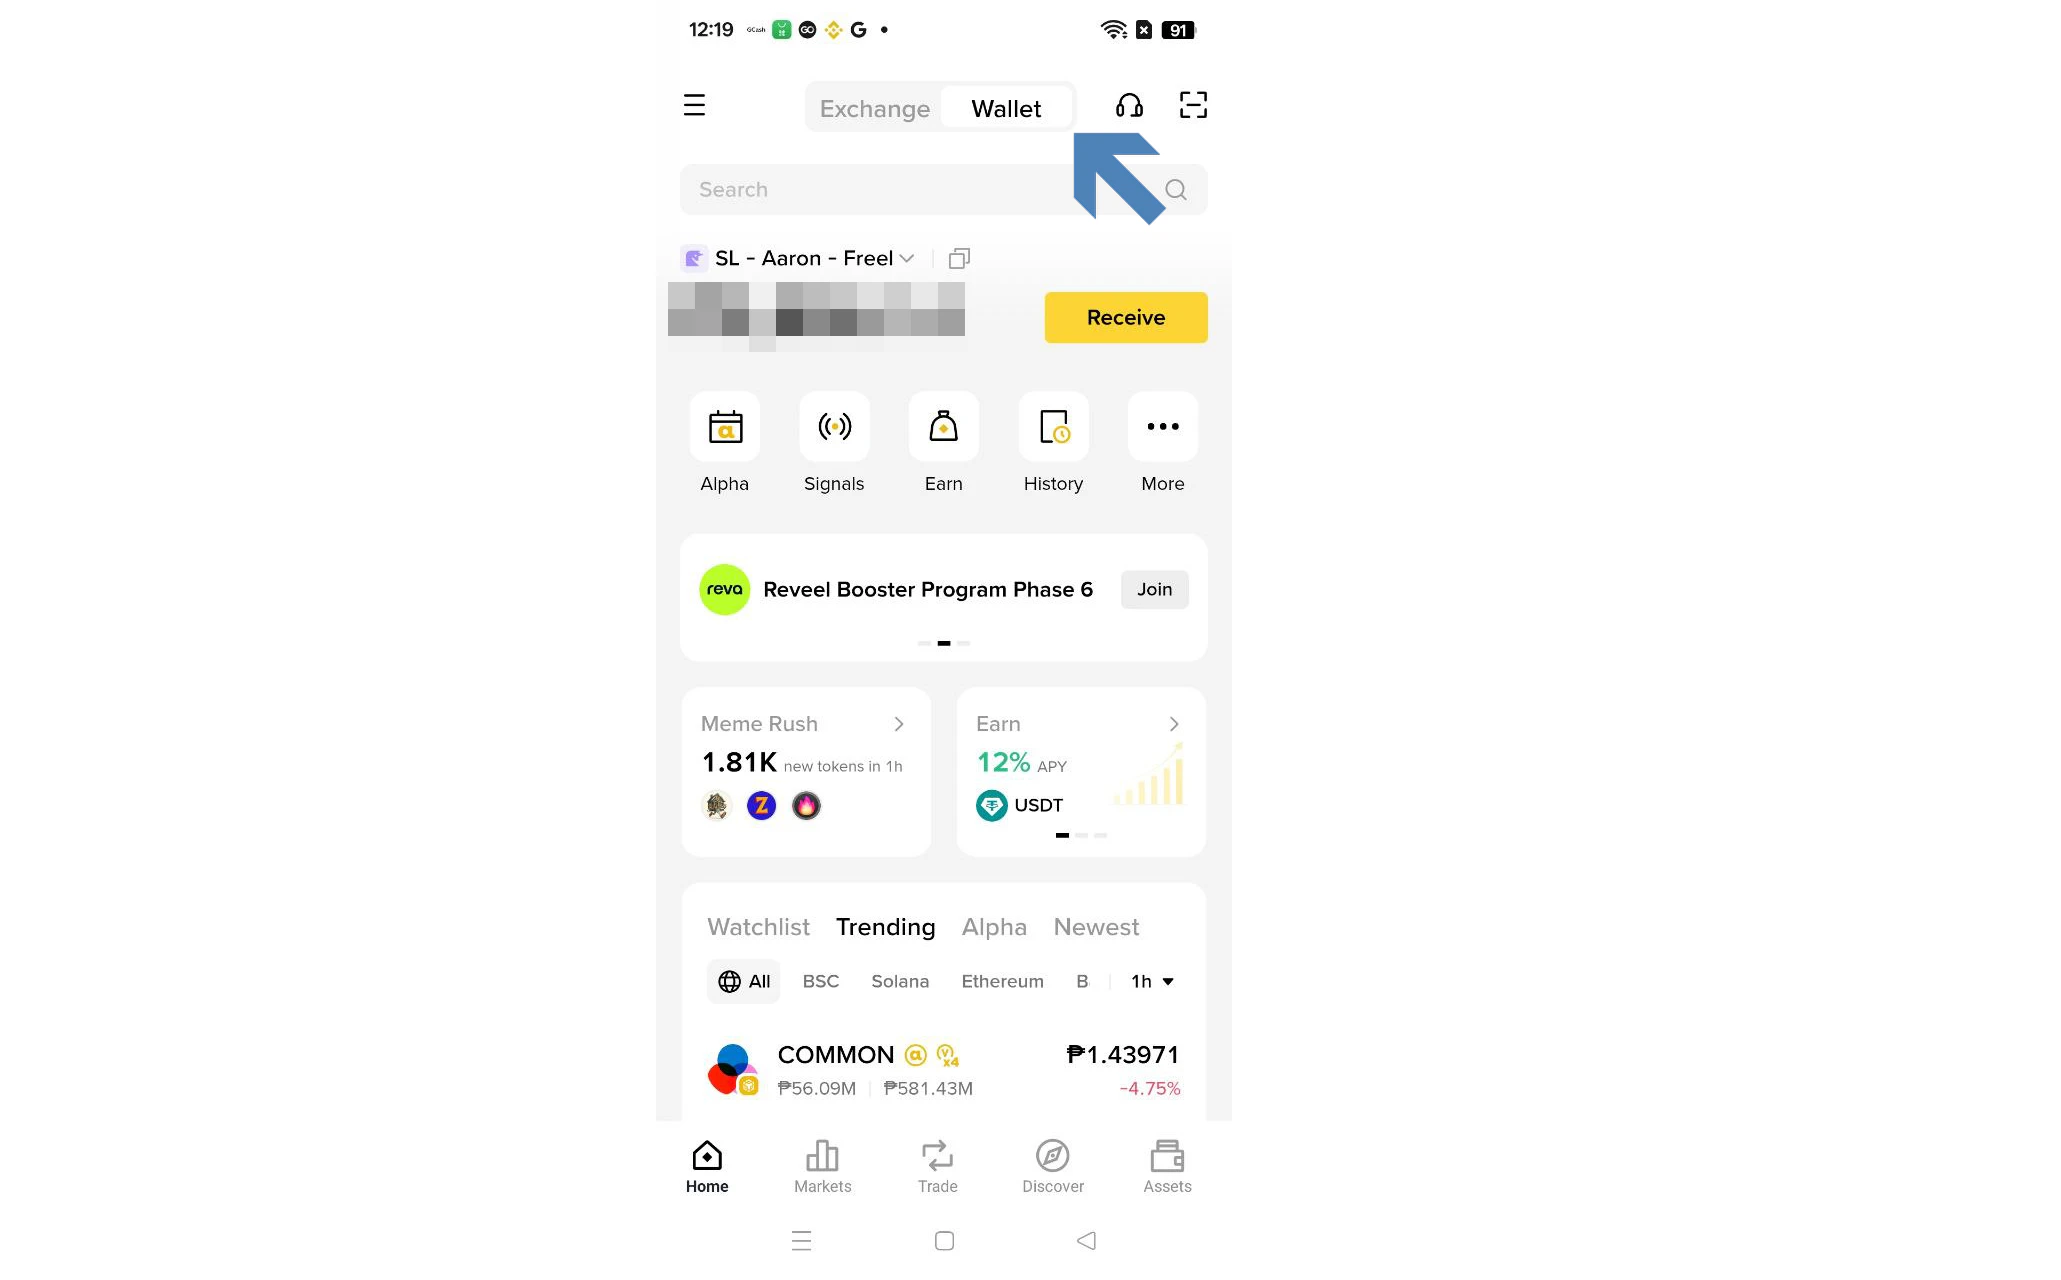
- Open the OKX App.
- Tap Wallet → Web3 Wallet (or Wallet → Web3).
- Confirm the incoming USDT (Polygon) balance — it should be synced from StableLance.
- Transfer from Web3 → Exchange account (OKX App)
- In Web3 Wallet, under Home, find Send and click.
- Select the crypto USDT (Polygon) and tap it.
- Tap Wallet → choose Exchange Account.
- Enter the amount and confirm.
- Review details and confirm.
- Sell USDT via OKX P2P (mobile)
- Go to Exchange, tap Buy/Sell or P2P Trading → P2P or Express.
- Choose Sell → USDT.
- Enter the amount (USDT) or the fiat amount ($) you want.
- Filter by payment method (e.g., bank transfer, GCash) and merchant rating.
- Select a verified buyer with a high completion rate and fast release.
- Tap Sell, follow onscreen instructions, wait for the buyer to send fiat.
- Only tap Release after you confirm the fiat is in your bank/GCash account.
- Go to Exchange, tap Buy/Sell or P2P Trading → P2P or Express.
Safety: Do not release crypto until you have confirmed fiat in your account.
Binance — Move funds & sell (mobile)
Binance — Move funds & sell (mobile)
- Check your Web3 Wallet on Binance
- Open the Binance App.
- Tap Wallets → Web3 (sometimes labeled Wallets → DeFi Wallet).
- Verify your USDT (Polygon) balance is visible — this is the amount synced from StableLance.
- Transfer from Web3 → Exchange account (Binance App)
- In Web3 Wallet, tap Transfer (or Send).
- Choose USDT (Polygon).
- Select To Binance / To Exchange Account (you may see options like Transfer to Binance or To Exchange).
- Confirm Network: Polygon (POL), enter the amount, and tap Confirm.
- Transfers using Binance’s internal route are usually instant — your funds will appear in your Spot or Funding wallet.
-
Move funds to your Funding Wallet (if needed)
- Binance P2P trades use the Funding Wallet.
- If your USDT arrived in Spot, go to Wallets → Transfer, select From: Spot → To: Funding, choose USDT, and confirm.
-
Sell USDT via Binance P2P (mobile)
- Tap Trade → P2P (or access P2P under the Wallets tab).
- Switch to Sell, then select USDT.
- Enter the USDT amount or equivalent fiat value you wish to sell.
- Filter by payment method (e.g., bank transfer, GCash) and merchant rating.
- Choose a verified buyer with a high completion rate and fast payment record.
- Tap Sell, follow the buyer’s payment instructions, and wait for the fiat to arrive.
- Only tap “Release” after you confirm the fiat is in your bank or GCash account.
Safety: Never release crypto before confirming the fiat payment in your own account.
Step 3. Final checks & tips
- Always test with a small transfer first (e.g., 1–5 USDT).
- Keep POL in your wallet for Polygon gas fees when sending.
- If funds don’t appear in the exchange, check Deposit History and the transaction hash on Polygonscan.
- For any deposit/withdrawal issues, contact the exchange support with the transaction hash.