Job Poster Guide
StableLance makes it simple for recruiters to fund their wallet, create projects, and send direct payments to freelancers — all powered by USDT on the Polygon network (POL). You can use any supported exchange, but here we’ll guide you through the two most common ones: OKX and Binance.Quickstart
If you haven’t done the quickstart configuration yet, please do so before proceeding.
Funding your wallet
Step 1. Buy USDT (Stablecoin)
You’ll need USDT (Polygon Network) to fund your StableLance wallet. You can buy it directly from your exchange using fiat or via peer-to-peer (P2P) trading.Buy USDT on OKX
Buy USDT on OKX
💡 Official OKX tutorial: How to buy crypto with OKX →
- Open your OKX App or log in to okx.com.
- Go to the Buy Crypto tab in the top menu.
- Choose P2P Trading or Quick Buy.
- Select USDT as the cryptocurrency.
- Enter your desired amount in USD (e.g. 50).
- Choose your preferred payment method (bank card, transfer, etc.).
- Review the rate and tap Buy USDT.
- Wait for the transaction to complete, then check your Funding Account to see your USDT balance.
Buy USDT on Binance
Buy USDT on Binance
💡 Official Binance tutorial: How to buy crypto on Binance P2P →
- Open your Binance App or go to binance.com.
- Tap or click Buy Crypto → P2P Trading.
- Choose USDT and select your preferred fiat currency (e.g. USD).
- Tap Buy USDT and choose a verified seller.
- Enter the amount you want to purchase (e.g. $20).
- Complete payment and wait for confirmation.
- Once confirmed, the USDT will appear in your Funding Wallet.
Step 2. Buy a Small Amount of POL (Polygon Gas Fee)
You’ll need a small amount of POL (formerly MATIC) for network fees — typically less than $0.05 per transaction for withdrawing your money out from StableLance in the future.Buy POL on OKX
Buy POL on OKX
💡 Official OKX tutorial: How to buy crypto on OKX →
- In OKX, go to Trade → Convert or Buy Crypto.
- Select From: USDT, To: POL (Polygon).
- Enter a small amount — around 2 worth is enough.
- Tap Convert Now.
- You’ll see your POL balance appear in your Funding Account.
Buy POL on Binance
Buy POL on Binance
💡 Official Binance tutorial: How to buy and sell crypto instantly with Binance Convert →
- Open the Binance App or website.
- Navigate to Trade → Convert.
- Select From: USDT, To: POL.
- Enter the amount (around 2 worth).
- Tap Preview Conversion → Confirm.
- Your POL will appear in your Spot Wallet.
Step 3. Send USDT to Your StableLance Wallet
After you’ve bought USDT (and a bit of POL), you can now send your funds to your StableLance wallet address.⚠️ Important: Make sure you use the Polygon network (
POLYGON / MATIC) when withdrawing to StableLance.Using the wrong network can result in permanent loss of funds.Send USDT from OKX to StableLance
Send USDT from OKX to StableLance
💡 Official OKX withdrawal tutorial: How to withdraw crypto on OKX →
- In the OKX App or website, go to Wallet → Assets → Withdraw.
- Select USDT.
- Choose On-chain withdrawal.
- Select or Paste your StableLance wallet address (Polygon network).
- Set Network: Polygon (POL).
- Enter the amount (e.g. 10 USDT).
- Review and confirm the withdrawal.
Send USDT from Binance to StableLance
Send USDT from Binance to StableLance
💡 Official Binance withdrawal tutorial: How to withdraw crypto from Binance →
- On the Binance App or website, go to Assets → Funding or Spot Wallet.
- Tap Withdraw.
- Select USDT.
- Select or Paste your StableLance wallet address (Polygon network).
- Choose Network: Polygon (POL).
- Enter the amount (e.g. 10 USDT).
- Tap Withdraw → Confirm.
Step 4. Verify Funds in StableLance
Once sent, return to your StableLance dashboard → Wallet Management.You’ll see your USDT balance reflected within 1–2 minutes (Polygon confirmations are fast). Your funds are now ready to use for creating projects, milestone funding, or direct freelancer payments.
Creating Projects
There are two ways to setup projects:
- Direct Invite
- Invite a freelancer of your choice if you know their email. They will receive an email even if they aren’t registered yet to StableLance.
- Publish to Marketplace
- Any freelancer can see the Marketplace and apply to your post. You can then choose which freelancer to work with.
1. Create a New Job
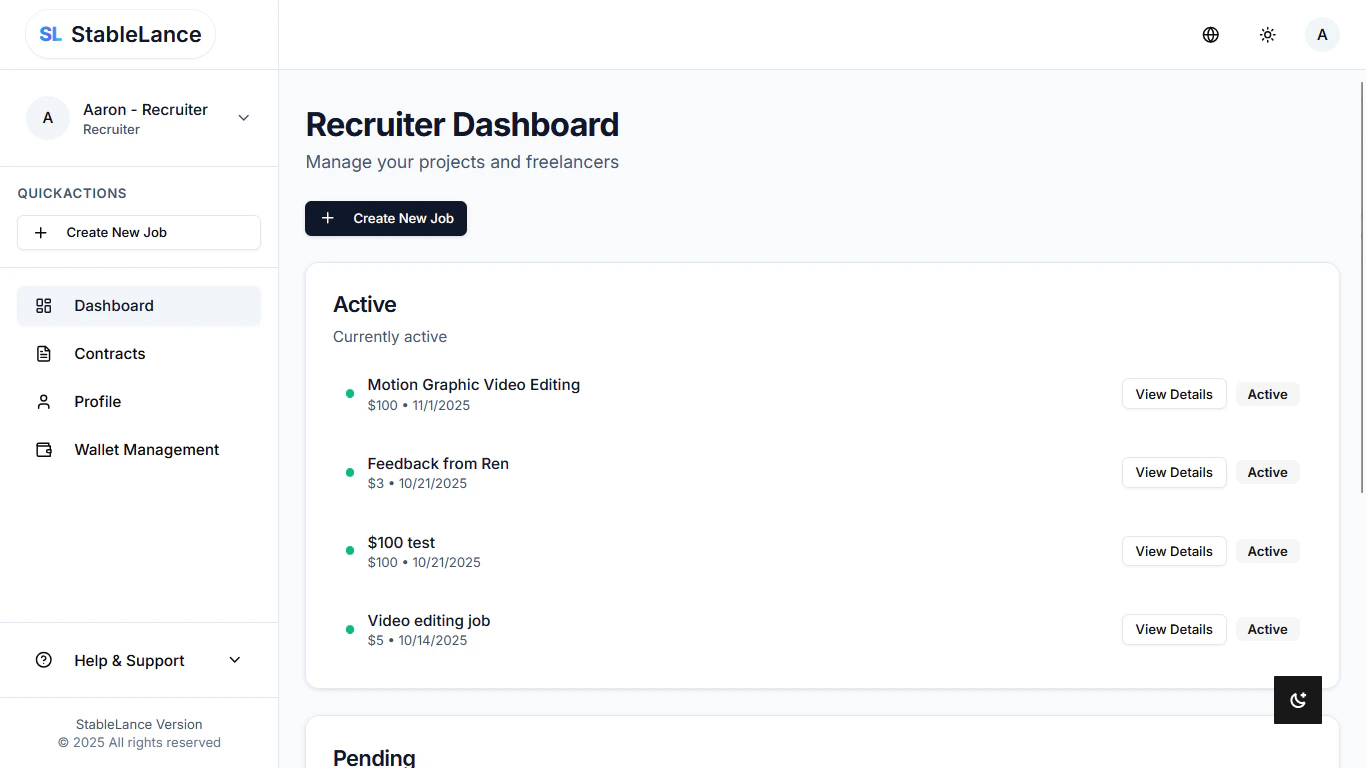
- Log in to your StableLance Dashboard at stablelance.com.
- On the left sidebar, click Dashboard.
- Click Create New Job at the top left corner of your dashboard.
- The project creation form will open.
2. Input Basic Project Information
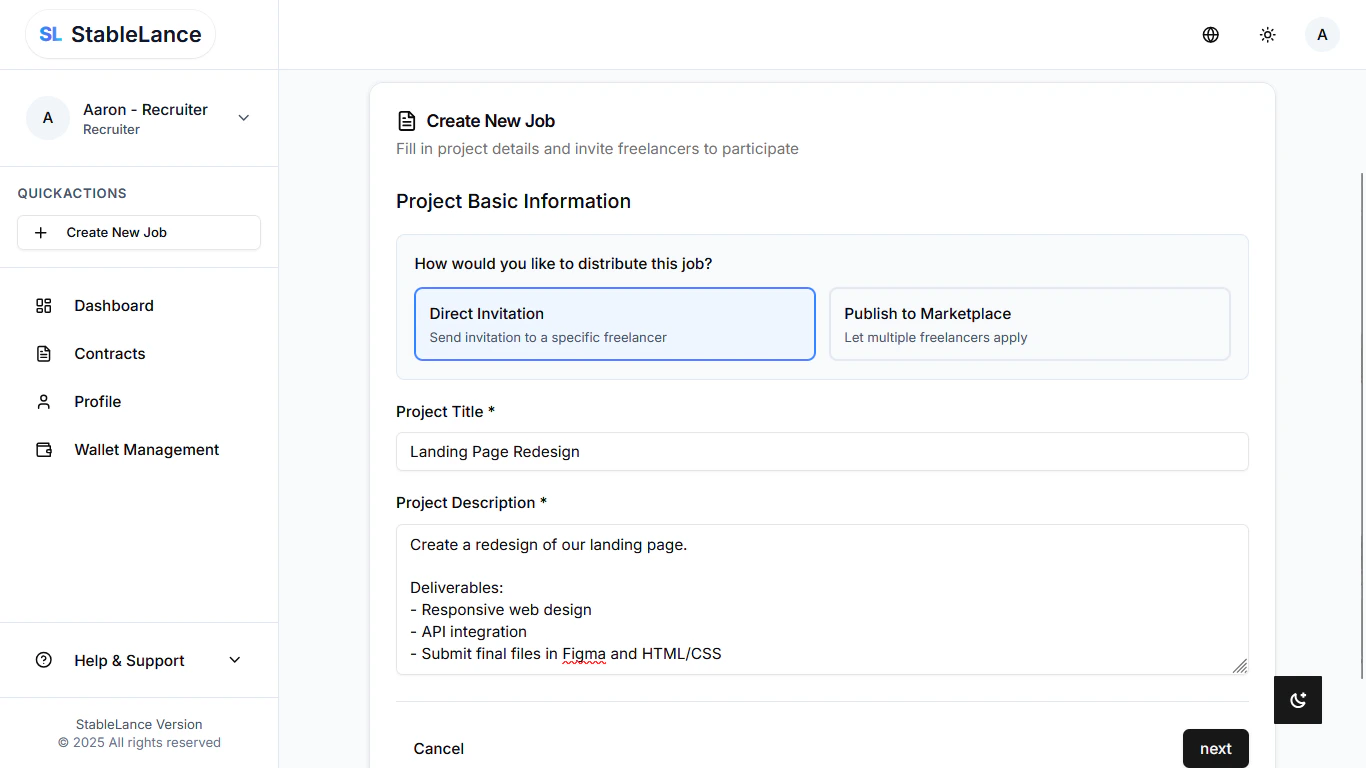
- Under Project Basic Information, fill out your project details:
- Project Title – a clear and descriptive name (e.g. Landing Page Redesign).
- Project Description – outline deliverables, technical specifications, and timelines.
Example:
3. Enter Freelancer Email - if Direct Invitation
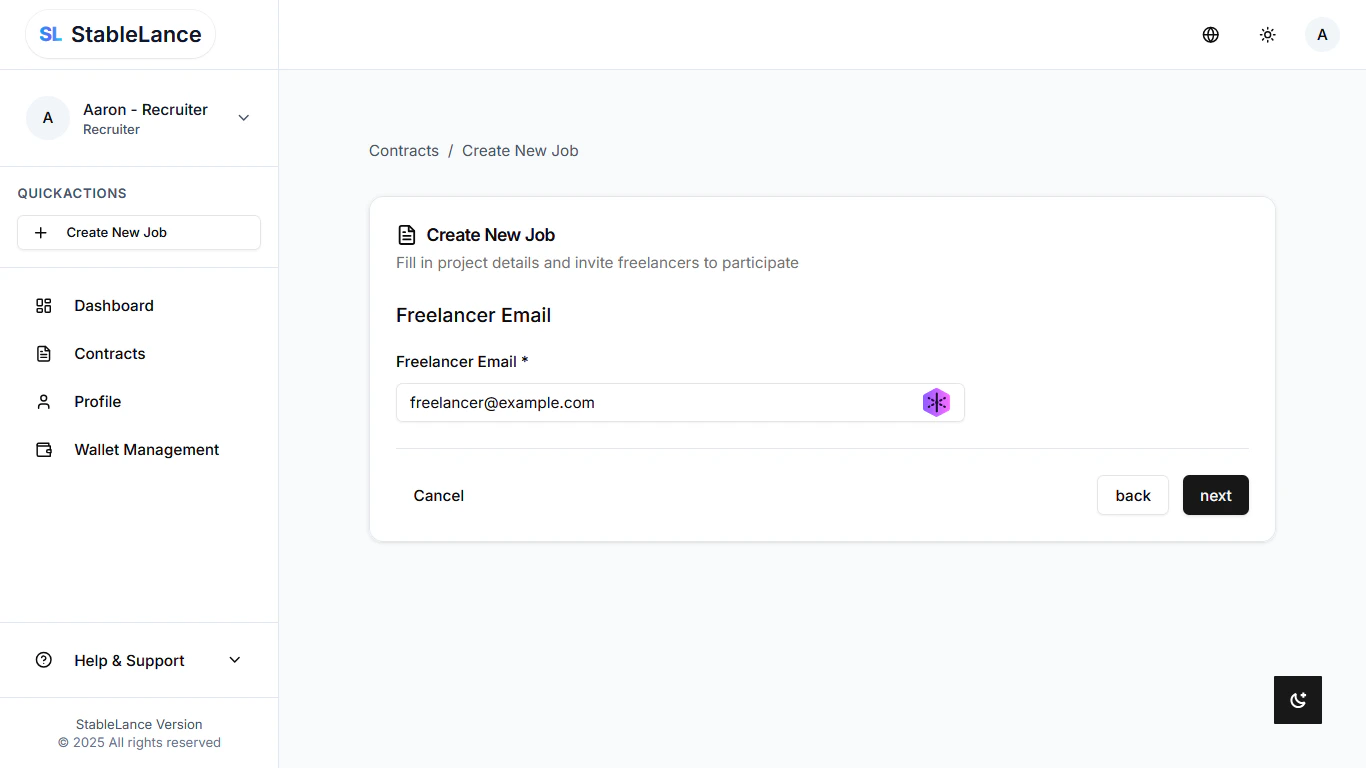
- In the Freelancer Information section, input your freelancer’s email address.
- The freelancer does not need to be registered on StableLance yet.
- Once you send the invitation, they will receive an email invite with a registration link.
- After signing up, the project will automatically appear on their dashboard.
- You can manage or re-send invitations anytime from Projects → Pending Invites.
4. Set Payment Details
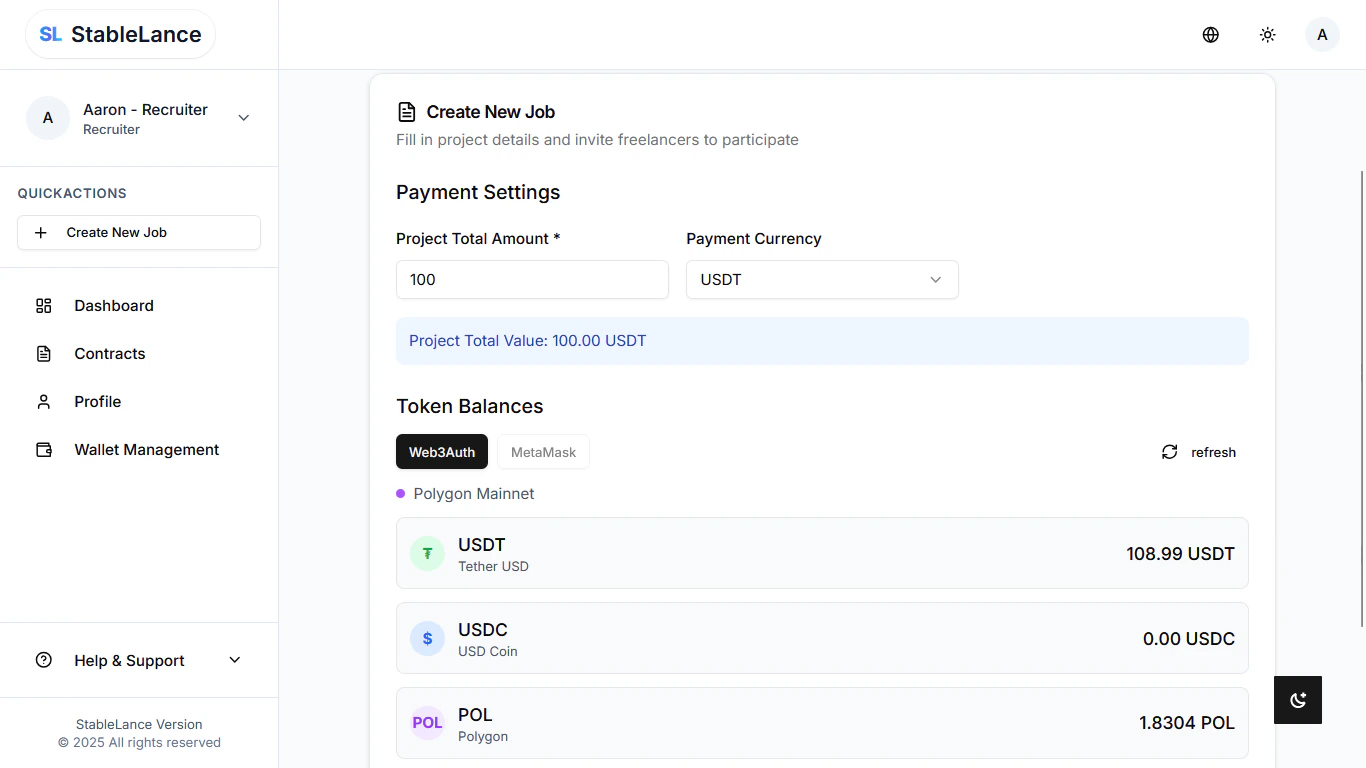
- Under Payment Settings, enter:
- Total Project Amount (in USD equivalent)
- Payment Currency: choose between USDT or USDC (Polygon Network only)
- Ensure your StableLance Wallet has enough USDT/USDC before sending an invitation.
5. Add Project Milestones
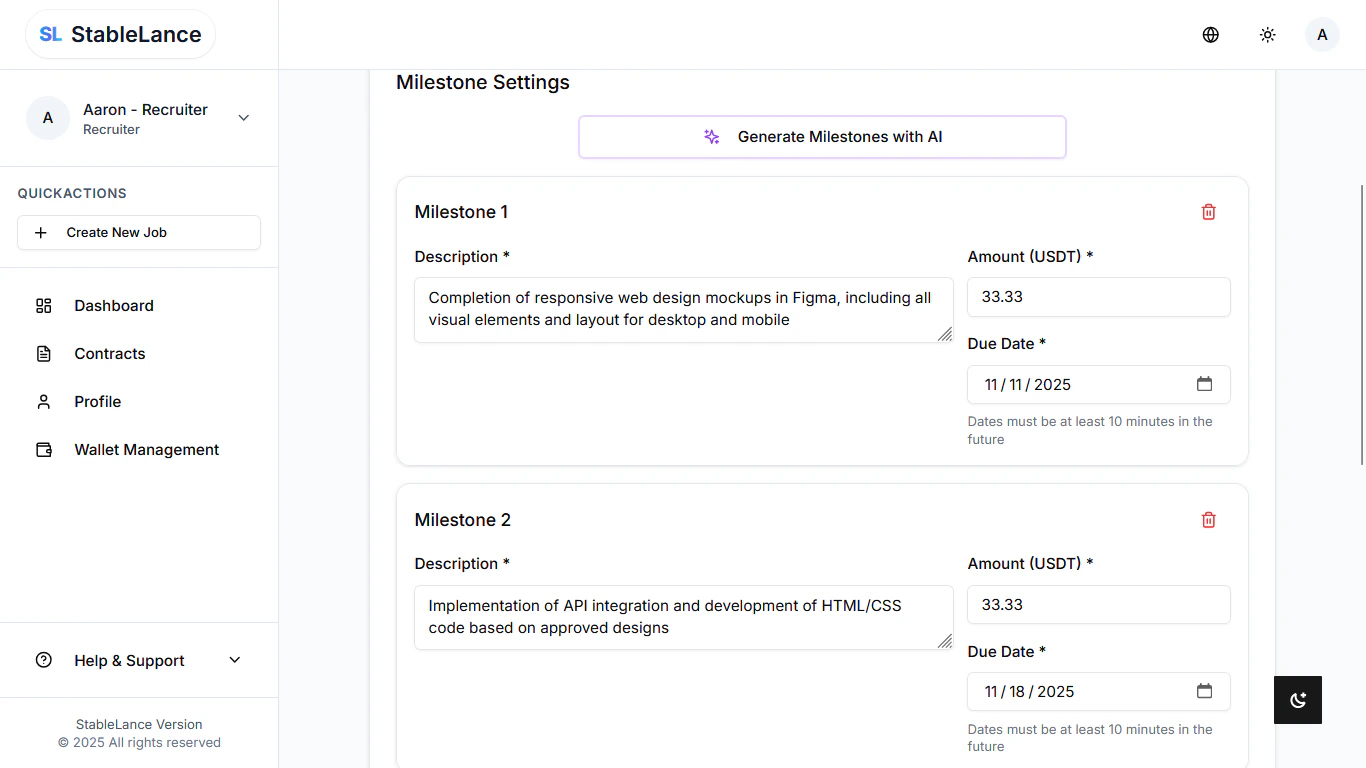
- Go to the Milestones section.
-
Click Add Milestone for each project phase. You can generate milestones with AI.
Fill in:
- Milestone Title (e.g. Design Draft)
- Description
- Amount (USDT/USDC)
- Due Date
-
Free-tier recruiters can create up to 3 milestones.
Higher tiers allow more — see our Pricing Plans.
6. Send Invitation
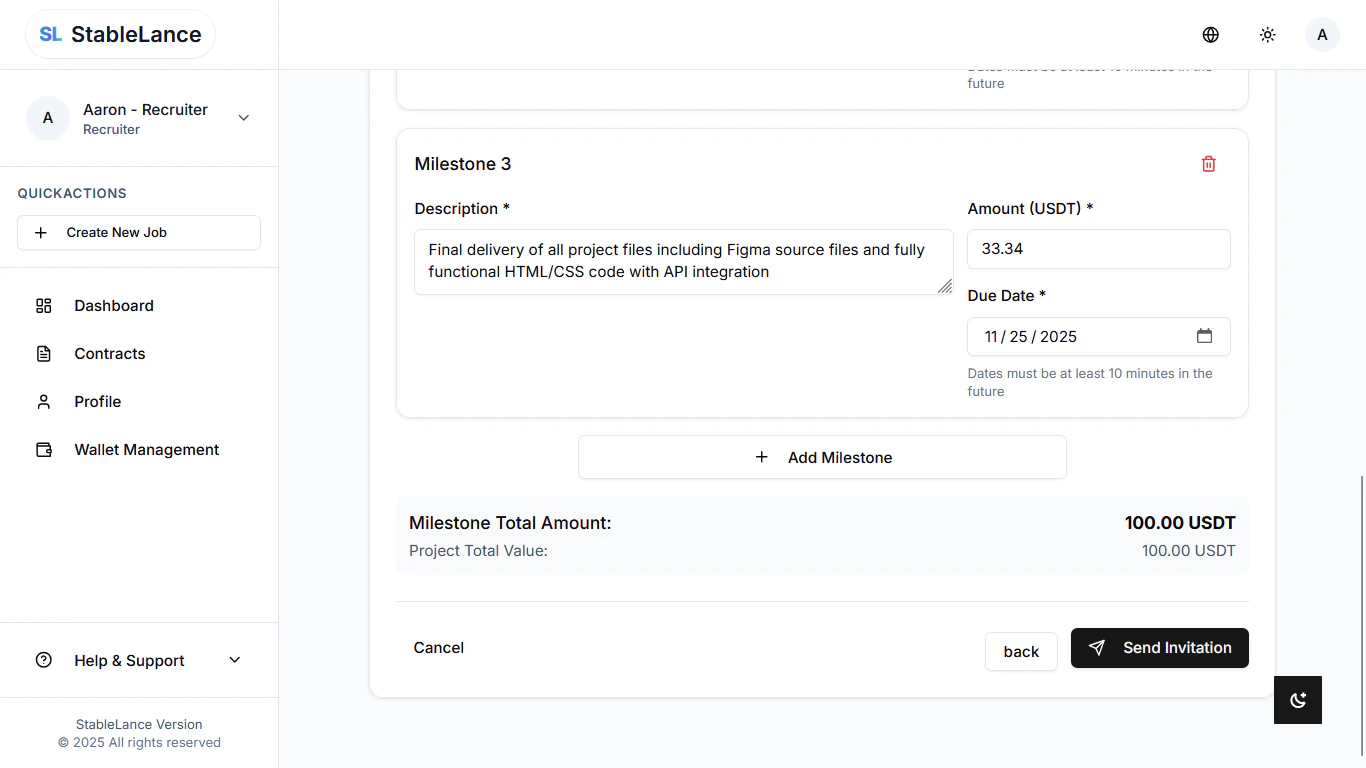
- Review all project details carefully.
- Click Send Invitation.
- Your freelancer will receive an email notification with the project summary and an accept link.
- Once accepted, the project moves to your Active Contracts tab, where you can chat, track progress, and release milestone payments.
⚠️ Note: Make sure your wallet is funded with USDT or USDC before inviting a freelancer.
Managing Work & Sending Payments
Once your freelancer has accepted the project, all project activities — communication, file sharing, and payments — will be managed inside your StableLance Dashboard.1. Go to the Project Page
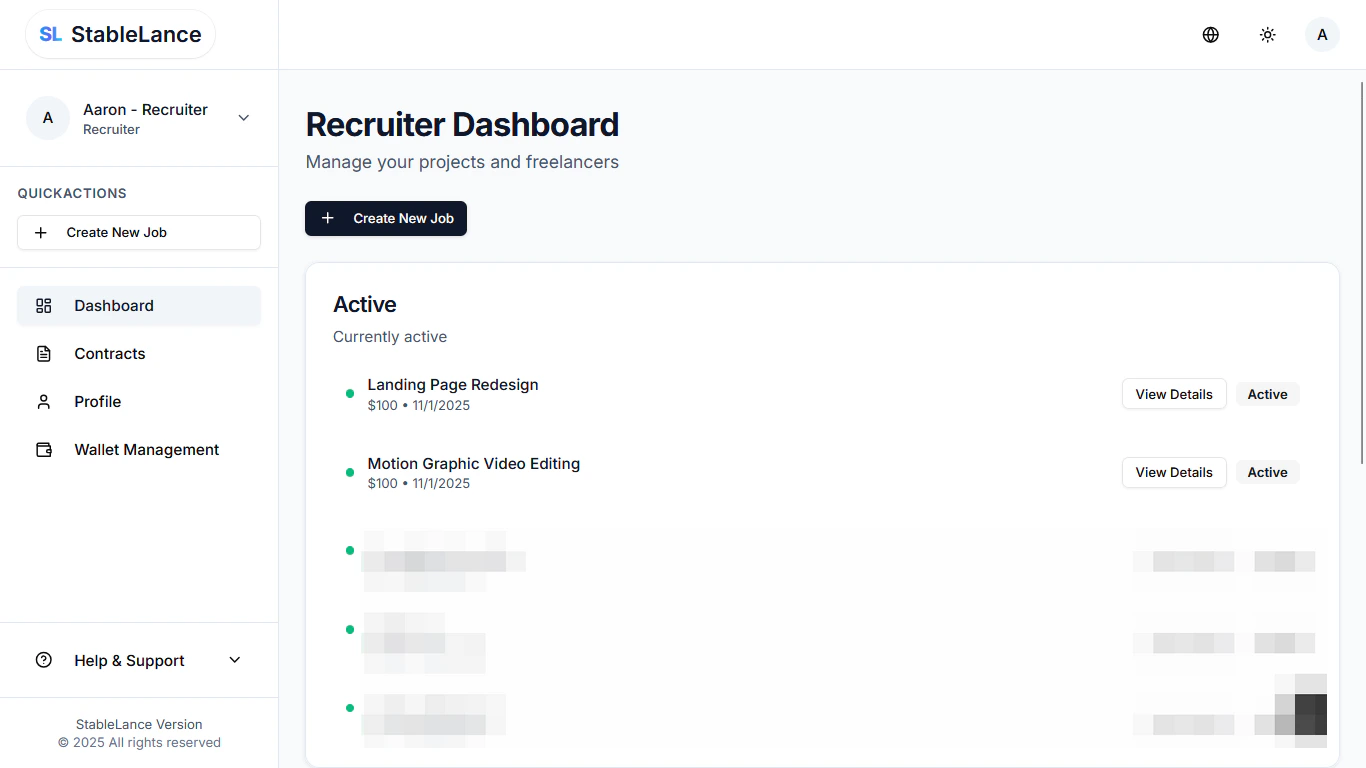
- Log in to your StableLance Dashboard.
- Navigate to Active Contracts.
- Click the project name to open its details page.
- You’ll now see the project workspace with all available tools.
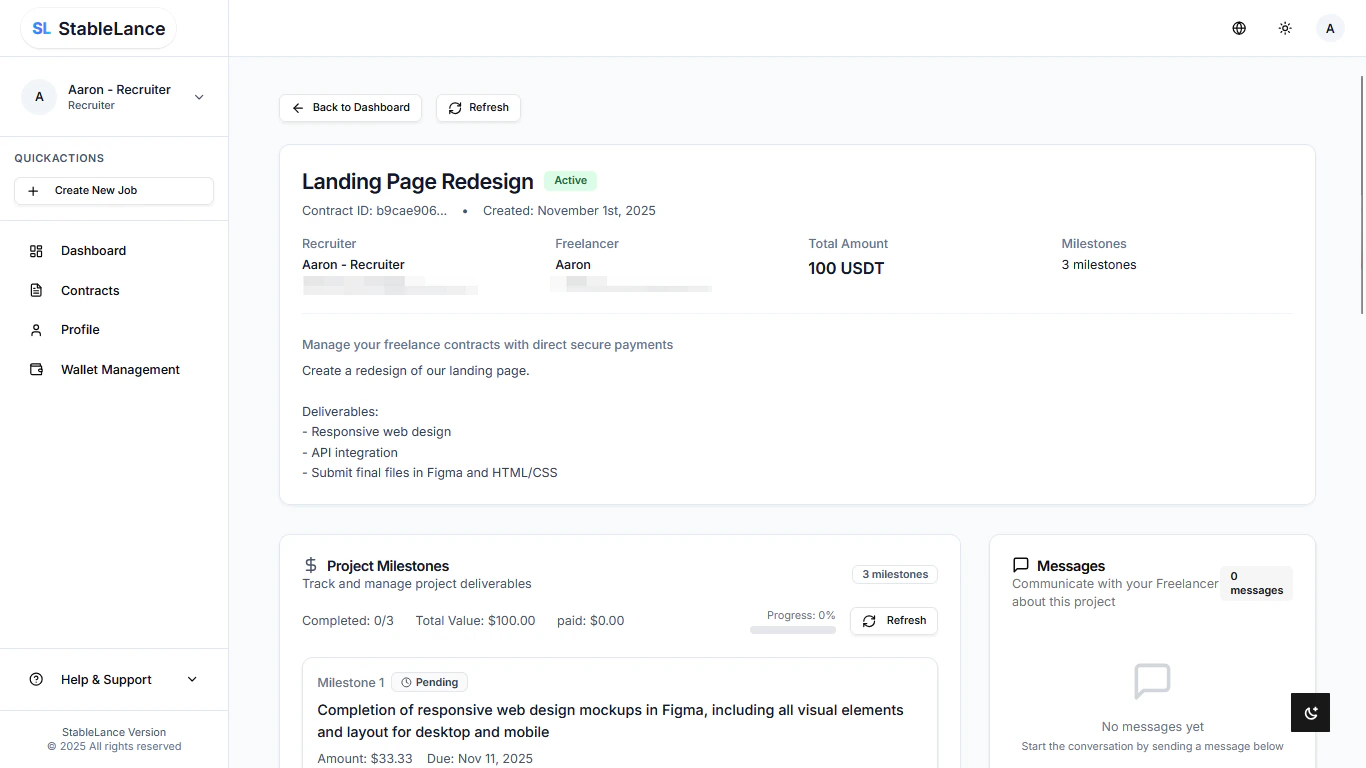
2. Key Features Inside the Project Workspace
💬 Messages
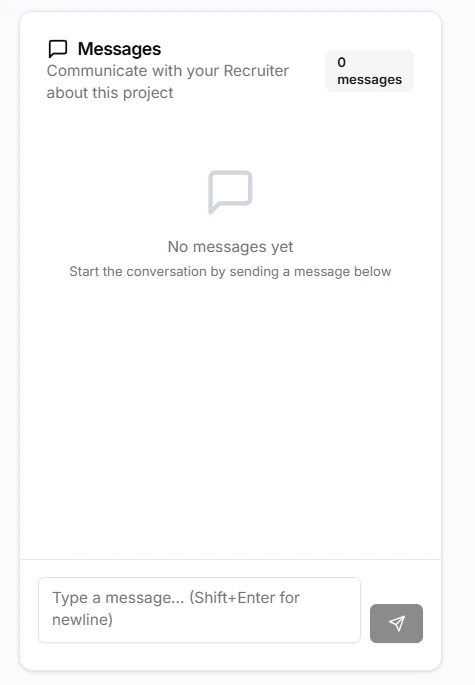
- Chat directly with your freelancer in real time.
- Use the Messages tab to discuss deliverables, timelines, or revisions.
- Notifications will appear in your email when new messages arrive.
📁 Project Files
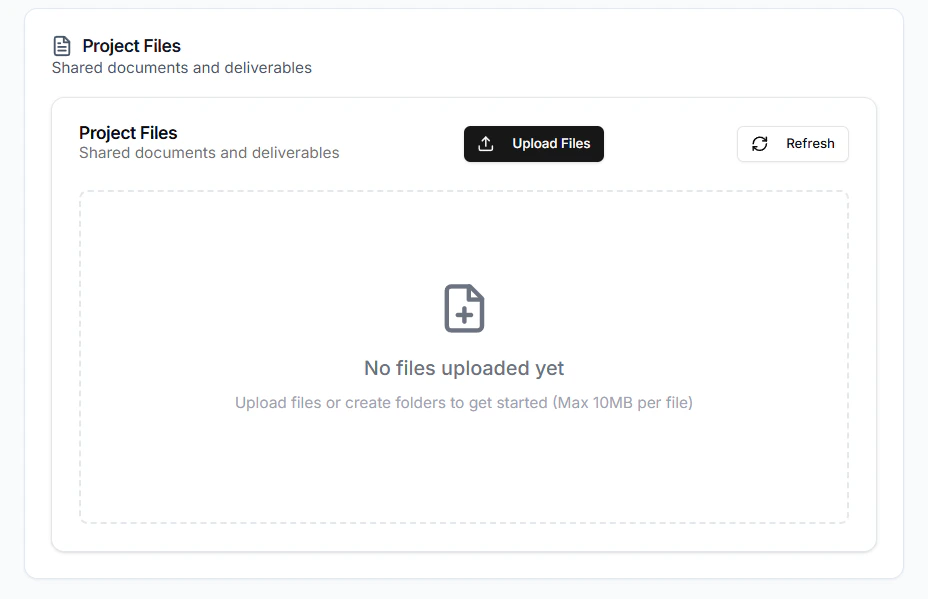
- All shared files between you and your freelancer appear here.
- You can upload or download documents, images, or deliverables (max file size: 10 MB per upload).
- Organize your files clearly — name them by version or milestone to avoid confusion.
📊 Project Milestones
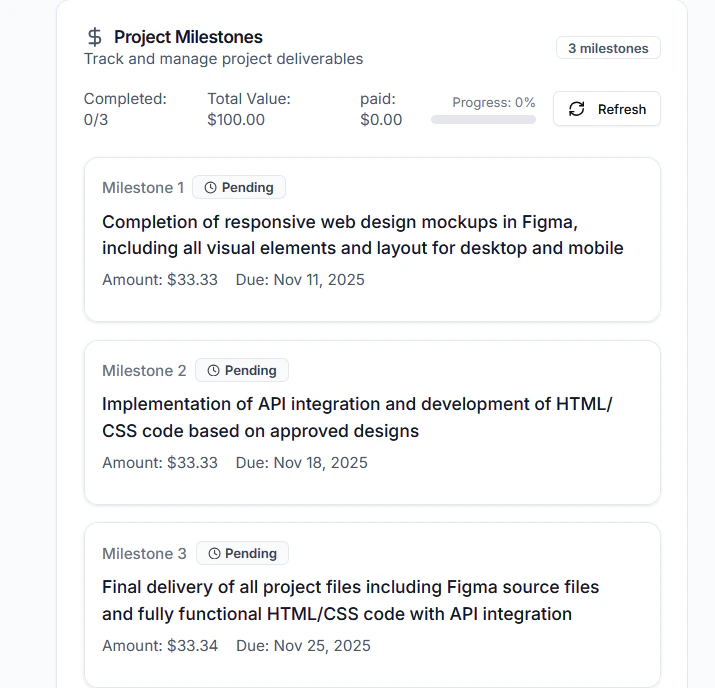
- Track and manage all milestones under the Milestones tab.
- Each milestone shows:
- Description
- Due date
- Payment amount
- Status (Pending / Submitted / Approved)
3. Reviewing Submitted Work
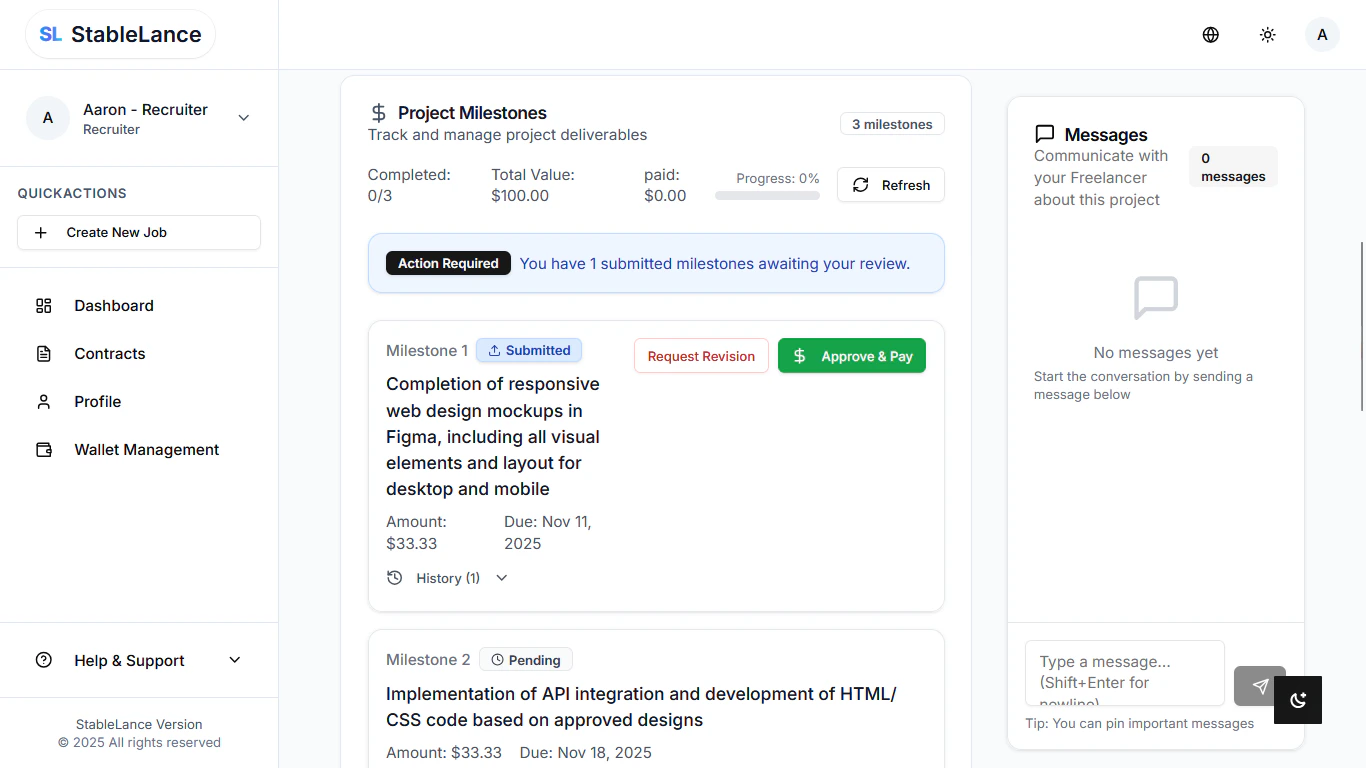
- When a freelancer submits a milestone for review, you’ll receive a notification.
- Open the Milestones tab to review the submission and attached files.
- If you need edits, click Request Revision.
- Add a short note describing what needs to be changed.
- The milestone will return to the freelancer for resubmission.
- Once revisions are complete, you can review the updated deliverables before approving.
4. Approving & Sending Payment
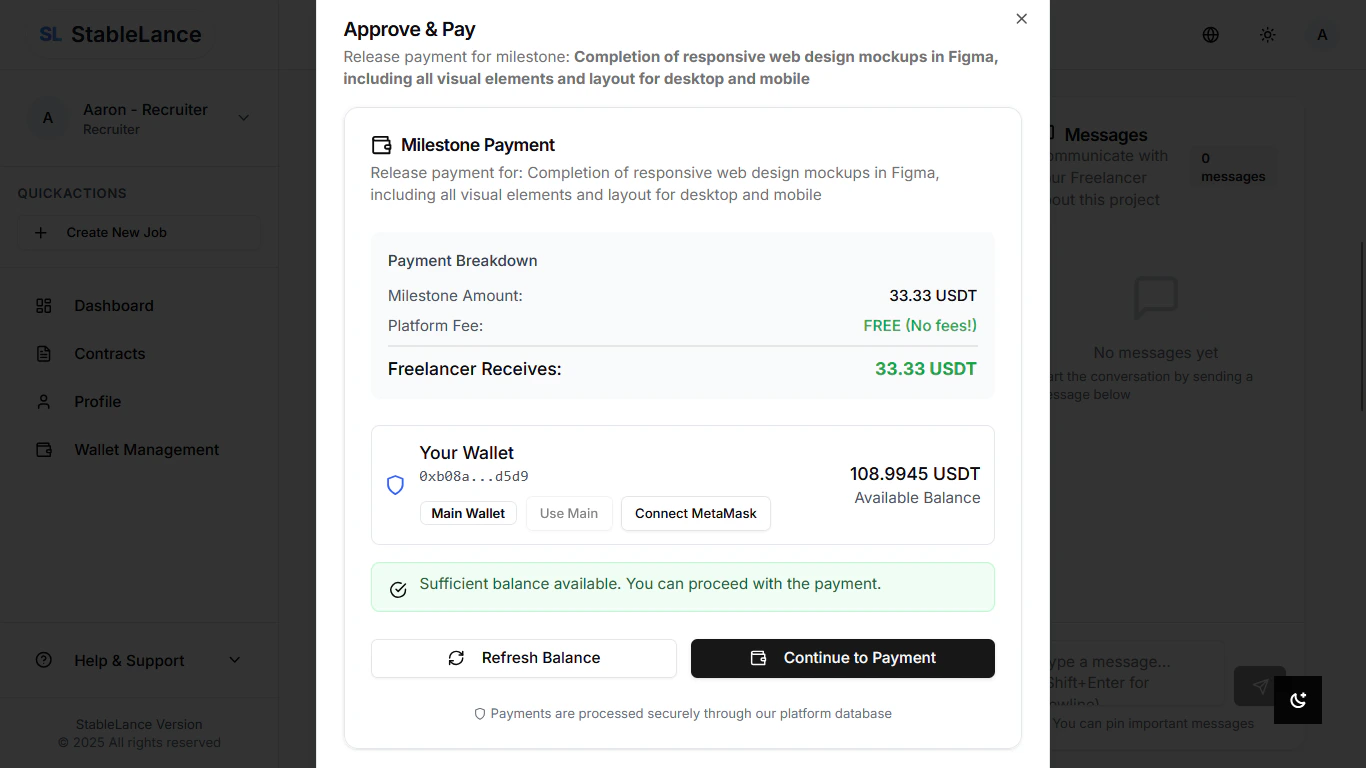
- After verifying that the work meets your expectations:
- Click Approve & Pay on the completed milestone.
- Select Continue to Payment.
- Choose the wallet you’ll use (OKX, Binance, or your connected StableLance wallet).
- Confirm the transaction on your wallet’s prompt.
- The system will automatically process the payment via the Polygon network.
5. Instant Payout to Freelancer
- Once approved, the milestone status will update to Paid.
- Your freelancer receives the payment instantly in their StableLance wallet.
- You can view the transaction history anytime under Wallet Management → Transactions.
💡 Tip: Each milestone payment is fully on-chain. You can verify it on Polygonscan by checking the transaction hash shown in your payment receipt.
⚠️ Note: Payments cannot be reversed once approved. Always double-check that the milestone output meets the agreed-upon requirements before confirming payment.